
Today I made two Hey Chuck Birthday Cards using the Hey Chuck Stamp Set from Stampin’Up! I love sending birthday cards to friends and family! The instructions are below for these cards. If you want to watch the step by step video for both of the cards, here it is.
If you would like to try this project, please visit my store for any supplies you need. Sign up for my newsletter and receive FREE tutorials every month.
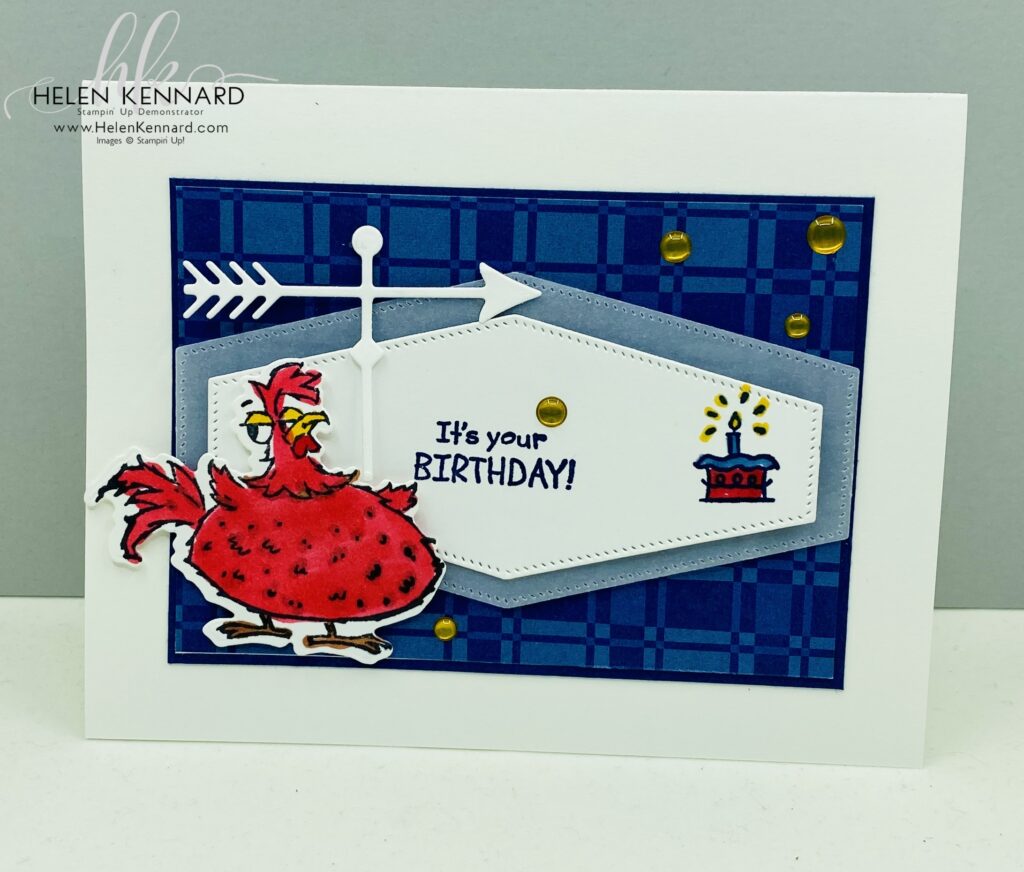
Hey Chuck Birthday Card #1
Stamp Set: Hey Chuck
Paper: Basic White Thick Cardstock, Basic White Cardstock, Night of Navy Cardstock, Vellum Cardstock, Delightfully Eclectic Designer Series Paper
Ink: Night of Navy Ink Pad, Memento Ink Pad, Blends: Cajun Craze, Copper Cay, Misty Moonlight, Daffodil Delight, Real Red Blends
Embellishment: 2023 -2025 In Color Dots
Tools: Stampin’ Cut & Emboss Machine, Hey Chuck Dies, Nested Essentials Dies
Directions:
- Cut Basic White Thick Cardstock to 5-1/2″ x 8-1/2″ and fold in half.
- Cut Delightfully Eclectic Designer Series Paper 4-1/4″ x 3″ and Matt on Night of Navy Cardstock 4-3/8″ x 3-1/8″. Adhere to card front with Seal.
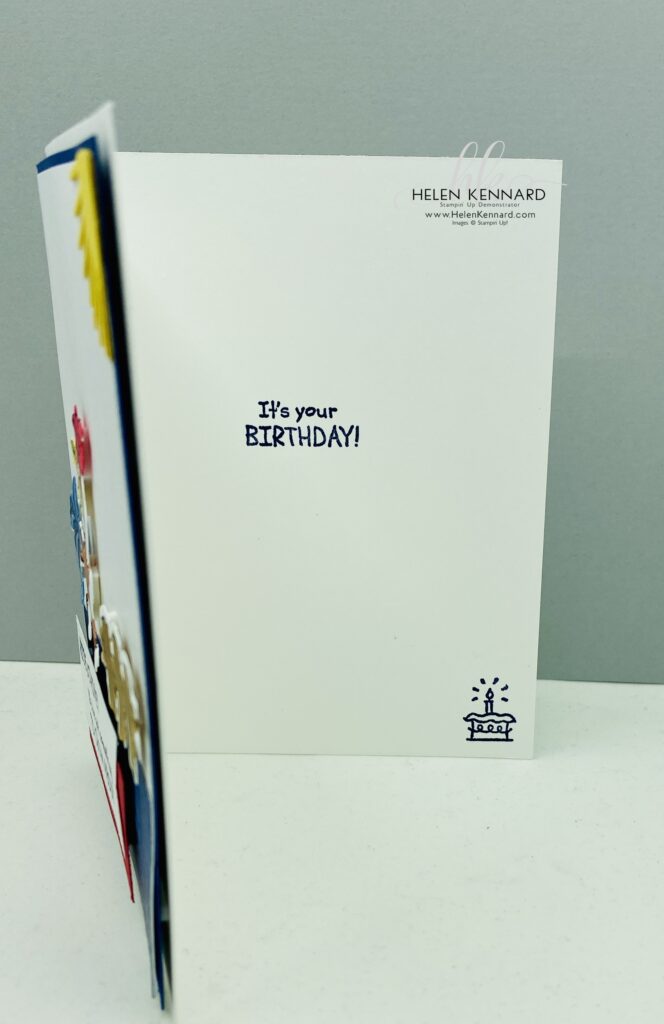
- Cut label with Basic White Cardstock using Nested Essentials Die. Stamp sentiment in Night o Navy ink. Layer on Vellum Label cut from Nested Essentials Die using Dimensionals. Adhere all to the card front using Dimensionals.
- Die cut weathervane and adhere to the card front using Mini Glue Dots.
- Stamp the bird and cake in Memento ink. Color using Blend, die cut and adhere to the card front using Dimensionals.
- Embellish card front using In Color Dots.
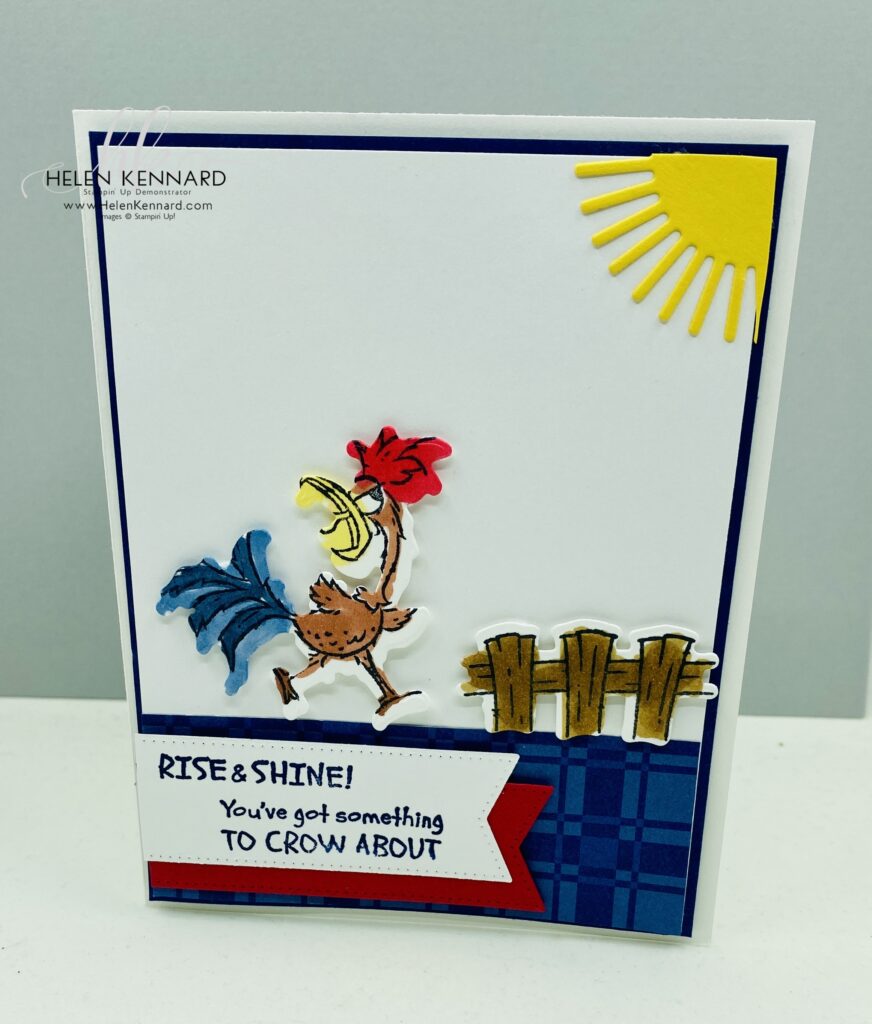
Card #2
Stamp Set: Hey Chuck
Paper: Basic White Thick Cardstock, Basic White Cardstock, Night of Navy Cardstock, Vellum Cardstock, Delightfully Eclectic Designer Series Paper, Real Red Cardstock, Daffodil Delight Cardstock
Ink: Night of Navy Ink Pad, Memento Ink Pad, Blends: Cajun Craze, Copper Cay, Misty Moonlight, Daffodil Delight, Real Red Blends
Embellishment: 2023 -2025 In Color Dots
Tools: Stampin’ Cut & Emboss Machine, Hey Chuck Dies, Blending Brushes, Nested Essentials Dies, Stylish Shapes Dies
Directions:
- Cut Basic White Thick Cardstock to 5-1/2″ x 8-1/2″ and fold in half.
- Cut Basic White Cardstock 3-7/8″ x 5-1/8″ . Die cut and adhere sun to the card front trimming off excess.
- Adhere Designer Series Paper cut at 3-7/8″ x 1-1/2″ to the Basic White layer using Seal. Die cut two banners from the Stylish Shapes Dies in Basic White and Real Red. Stamp Sentiment in Night of Navy Ink on Basic White banner.
- Adhere banners on card base with Dimensionals.
- Adhere Basic White layer to the Night of Navy mat cut at 4″ x 5-1/4″. Then Adhere Night of Navy to card base with Seal.
- Stamp rooster, fence and skateboard on Basic White Cardstock in Memento Ink, color using Blends, die cut, and adhere to the card front using Dimensionals.
Let’s Stay Connected:
Join me Live every Wednesday night at 7pm EST on FaceBook or YouTube.
You can Shop My Store Here
Join My Team Here.
#Stampinup #helenkennardcom #Handstampedcards #stampinuptutorials #HeyChuckstampset #birthdaycards

Leave a Reply